Pages

Showing posts with label Embellishments. Show all posts

Wednesday, February 13, 2013

You Are Loved Valentine's Card

I found this card design on Debbie's Designs.  It is perfect because the 3D hearts flatten to put in an envelope.  You can see her tutorial here.  Believe it or not, the DSP is Candlelight Christmas, from our Holiday Mini catalog, but it was the perfect color red.  :)   
 
My eye is drawn to red and black on my Valentine's cards.  Am I the only person who does that?!  The center of the hearts is filled with silver glitter paper.  The large black heart as the base of the hearts was embossed with the Lacy Brocade embossing folder, and the Scallop Trim Border punch provided the trim around the DSP.
 
Project Particulars
Stamp set:  You Are Loved
Ink:  Real Red
Paper:  Candlelight Christmas DSP, Real Red, Silver Glimmer paper, Basic Black, Whisper White
Big Shot:  Hearts Collection framelits
Punches:  Scallop Trim border punch, Scallop Oval, Large Oval
Accessories:  Rhinestone basic jewels

Hearts in Hearts Video Tutorial

Terry Blais (my Grandma level upline) and Kim Becker (my Mom level upline) and I got together to make more video tutorials.  This is one of Terry's videos.
 
You can find all our videos on my Video Page.  Enjoy!
 

Tuesday, February 12, 2013

Feel Goods Heat Embossing

Terry, Kim and I had a video-making day last week.  It is always a fun time.  I think we should make a video of our bloopers, actually.  You won't believe how crazy we are!  For some reason, unbeknownst to anyone but Kim, my "shiny buttons" and "keeps the embossing powder from getting in places that you don't want it" comments made her laugh.  She actually had to leave the room during the filming of this video because she couldn't control herself! :) 
 
I hope you like my video.  There will be more to come. 
 
You can access all of our American Ink tutorial videos on my "Video" tab at the top of this page.

Vintage Verses

This card was a M&T that I brought to January's demo club meeting.  Vintage Verses stamp set is something you can get for free with a $50 purchase from the Sale-a-bration catalog.  The Houndstooth embossing folder design reminds me of the Parker's Patterns DSP, and I embossed Cherry Cobbler Core'dinations card stock and sanded it with the sanding block to help the design stand out.


The Festive piercing pack makes it easy to highlight a design and perfectly coordinates with the Labels Collection framelits.  Raising the word 'you' and stamping it in a different color is referred to as 'spotlighting.'
 
Project Particulars
Stamp set:  Vintage Verses (SAB)
Ink:  Cherry Cobbler, Not Quite Navy
Paper:  Parker's Patterns DSP (SAB), Cherry Cobbler Core'dinations card stock, Not Quite Navy, Very Vanilla
Big Shot:  Labels Collections framelits, Houndstooth Embossing folder
Accessories:  Pearl Basic jewels, Festive Piercing pack, Piercing tool and mat, Sanding block

Tuesday, January 29, 2013

Ladies Club - January

Bloomin' Marvelous! 
 
That's the name of the stamp set I used for this club card.  Here in the Pacific Northwest, we've had a pretty gray start to the New Year.  Doesn't it make you smile to think of spring?  That's what this card reminds me of with the Vine Street embossing folder, which I used on the Baja Breeze background.  This stamp set and embossing folder are available in our Sale-a-bration catalog.  The Melon Mambo butterflies were punched with the Bitty Butterfly punch.  The Tea for Two DSP, 3/8" Melon Mambo Striped Organdy ribbon and the Butterfly punch is from the Spring catalog.  The Finishing Touches Edgelit was used on the Island Indigo border.  Make sure you have your Piercing Tool handy when you use this edgelit.  It provides such a detailed design that sometimes the little pieces like to stick in the edgelit and I use my piercing tool to clean them out.


Silver Tea Shoppe

 
One of my favorite local restaurants is the Victorian Rose Tea Room.  They have "High Teas" and the most adorable gift shop.  My hubby treated me to breakfast there last weekend.  The Tea Shoppe stamp set reminds me of the Tea Room. 
 
I used a Crumb Cake card base and stamped the flower design in the background with Crumb Cake.  I like the tone-on-tone stamping technique.  For the tea cup, I stamped it with VersaMark and then embossed it with Silver embossing powder. 
 
 
Tea Time Trinkets.  I can't get enough of these!  They have the most intricate details on them.  It's a good thing there is no limit to the number of embellishments you can buy ;)
 
Tea for Two DSP is shown on the bottom of this card and The border above it was made using the 7/16" Natural Trim.  The sentiment was punched with the 7/8" Scallop circle and layered with a 1" circle punch in Chocolate Chip.
 
 
You can purchase these Tea Time Trinkets, Natural Trim, small scallop circle and Tea for Two DSP from our Spring catalog.  And, because it's Sale-a-bration time, you can earn freebies for every $50 purchase!

Monday, January 21, 2013

Ladies Club - January

There are a great group of ladies who are in a club of mine.  We meet regularly every month, and it is something I look forward to.  Lots of fun and laughter :) 
Here are some of the projects they made this month.

The flower and leaves on this first card are from the Secret Garden Bundle, which includes the stamp set and framelits.  This bundle is from our Spring catalog.  I just can't get enough framelits.  They are so easy to use, and I really feel they save on paper waste.

There is another new embellishment on this card...it's the Silver Soda Pop Tops, also from the Spring catalog.  They come in two different sizes, and this is the small one.  There is a little lip inside the pop top, so if you use the right size punch, the insert stays inside without using any adhesive.  On this card I used the Itty Bitties stamp set for the tiny heart, so I did punch that with the circle from the Itty Bitty shape punch pack and adhered it to the Basic Black cardstock with a glue dot.  The black insert in the pop top was punched with the 1/2" circle punch. 

Both hearts were made using the Heart framelits.  I used the Occasions paper-piercing pack to pierce around the edge of the black heart.  This Occasions piercing pack is from our Spring Catalog.


Another thing I like to do is whenever I have the tiny stamps, I always remove the rubber backing and adhere the stamp label right to the rubber.  This greatly improves the stability of the tiny stamps, and I get a clean stamp image every single time.  (Plus, it seems to stick to the clear blocks better...)
 

Project Particulars
Stamp:  Secret Garden, Itty Bitties
Ink:  Real red
Paper:  Real red, basic black, gumball green, whisper white, Polka Dot Parade DSP
Big shot:  Stripes embossing folder, heart framelits, secret garden framelits
Punches: Itty bitty shape punch pack, 1/2" circle
Accessories:  Silver soda pop tops, 1/8 " real red taffeta ribbon, occasions paper-piercing pack


Mixed Bunch Pretty in Pink
 
This is a simple, yet pretty card.  Just my style!  I used the Mixed Bunch stamp set for the flower.  The sentiment and background was stamped with Tiny Tags, and I used our new Petite Curly Label punch from our Sale-a-bration catalog to punch it out.  I used the punch two more times in punching the melon mambo layer behind the sentiment and staggered them to provide the "frame" around the sentiment so it would stand out amongst the DSP.  This card uses the Secret Garden DSP and 3/8" Melon Mambo striped organdy ribbon from the Spring catalog. The Pearls added just that tiny touch of class, don't you think?
 
Sale-a-bration starts January 22!
 
You can get the Petite Curly Label punch for FREE
with a $50 order


Project Particulars
Stamp:  Mixed bunch, tiny tags
Ink: Melon mambo, pretty in pink
Paper:  Pretty in pink, melon mambo, very vanilla, Tea For Two DSP
Punches:  2 1/2" circle, blossom punch, petite curly label punch
Accessories:  3/8" melon mambo striped organdy ribbon, pearls


Friday, January 18, 2013

More swaps

These are the final swaps from the January American Ink demo meeting.
 
 
The card on the left was created by Michelle Williams.  She used the White Canvas Creations from our Spring Catalog for the sentiment.  She gave us all a great tip:  to heat set the design once you place it on the canvas.
 
The card on the right uses the Ovals Collection framelits, also available in the Spring Catalog.  (Have you noticed how many times I've said "Spring" catalog?)  There are TONS of great product in this catalog. 
 
 
The Pool Party card has a heart from the More Amore DSP and the Tea Lace Paper Doilies, again available through the Spring Catalog.

Thursday, January 17, 2013

American Ink January...continued

Here are more swaps and M&Ts from our
January American Ink demo meeting.
 
Kim Becker brought this card as her M&T.  The crown is from the You Rule stamp set.  Do you see those Large Rhinestones?  Both of these products are available in the Spring catalog.  The DSP is called Sycamore Street, and it's a preview from the Sale-a-bration catalog. 
 
Did you know you can receive FREE items?!  For every $50 you spend in product, you can select a FREE item from our Sale-a-bration catalog beginning JANUARY 22.  Isn't that fantastic!
 
 
My downline, Bonnie Chandler, is a master seamstress.  She used her talents to excite all of us with her handmade bookmark, which she gave to everyone at the demo meeting.  Such a nice lady :)
 
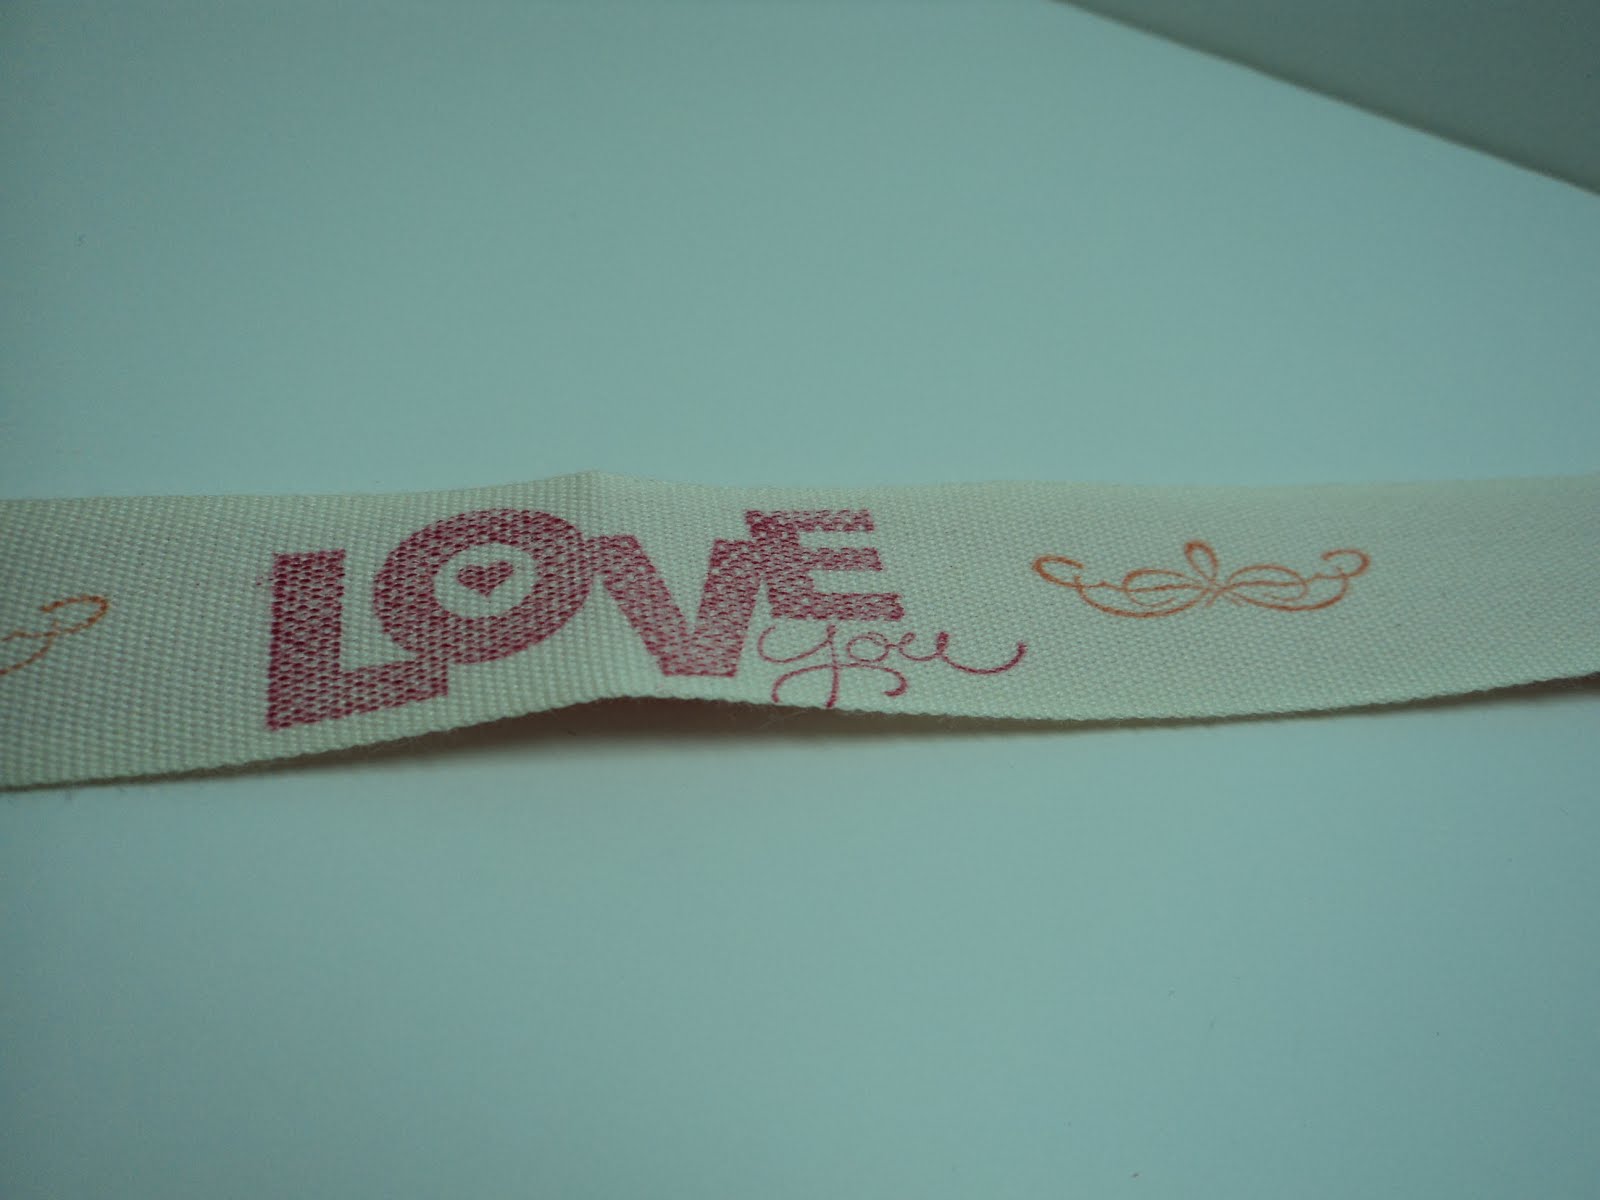
She used the 7/8" Cotton ribbon, which she had on hand from our Holiday mini catalog.  She stamped sentiments on the ribbon, added a small ribbon pull tab on the top, a button on the bottom and voila!  We have a too-cute bookmark!
 
 
 These were swaps made by fellow demonstrators...
 
...and more swaps.  Is this heaven?!  Heehee! 
 
There are more tomorrow, so check back with me then :)
 

Wednesday, January 16, 2013

American Ink January demo meeting

American Ink, which is comprised of downline of Terry Blais, had our demonstrator meeting last weekend.  It's always a great time to get new ideas, learn new techniques, swap cards, eat snacks, and spend time laughing and visiting with a great group of ladies.
 
This card was a swap made by my downline, Karen "Puddin'" Casper.  She magically made the hearts intertwine with a very creative fold that I had never seen before.  She did great, don't you agree! 


This card was a M&T provided by Sherry Nye.  She is a My Digital Studio guru!  The sentiment was made with MDS.  The pearl was colored with a Sharpie marker.  It's a great way to make the pearls coordinate with any color choice.  The Honeycomb embossing folder and the large heart, which is from the More Amore DSP, are both new items in our Spring Catalog.
 
 
This was a M&T provided by Michelle Williams.  The rose in the middle is from our new Spring catalog.  It's the 5/8" Vanilla Flower Trim.  It's so dainty!  And these pictures really don't do it justice.  Too cute :)  Michelle also used the More Amore DSP for the heart and the banner strips on the side from our Spring Catalog.


Check back for more pictures of our swaps and M&Ts.  If you'd like to purchase any of the products you see here, my Online Store is available 24/7.

Tuesday, January 15, 2013

Belt Buckle

This is the card I used for my swap at the American Ink demo meeting last weekend.  There were 16 ladies at the meeting!  Such fun.
 
This card has all kinds of things on it.  I started with the You Are Loved stamp and the heart from Lovely Little Labels.  I used the same two stamp sets for the M&T I posted earlier.  It seems like I forget about the smaller Adorning Accent embossing folders, but they are perfect when you want a small portion of something embossed.  The heart folder is perfect for Valentine's Day.  The small heart from Lovely Little Labels on the front of the card was stamped in VersaMark ink. 
 
The belt buckle opening was made with the Word Window punch. Aligning it was a little challenging for me, so my 'belt' isn't perfectly in the middle of the opening, but I think it's such a cute idea!  It is also the perfect spot for the stamp design which coordinates with the Decorative Label punch.  I have quite a stash of the largest pearls from our Pearl Basic Jewels, so I decided to use the large pearls on this card. 
 
 
The inside of the card is where I stamped the sentiment, which is also from the You Are Loved stamp set.  My husband, Chris, is the absolute love of my life.  This will be his card for Valentine's Day.
 
Project Particulars
Stamp:  You Are Loved, Lovely Little Labels
Ink:  Real red, basic black, VersaMark
Paper:  Summer Smooches DSP, real red, whisper white, basic black
Big Shot:  Heart framelits, polka dot embossing folder, heart adorning accent embossing folder
Punches:  Full heart, small heart, word window, decorative label
Accessories:  Pearls, 1/8" real red taffeta ribbon

Monday, January 14, 2013

You Are Loved

 
This card is the M&T (make-&-take) I brought for our January American Ink demo meeting this past weekend.  The Spring catalog is in full bloom, and I have fallen in love with several things already.  You can order products in this catalog until May 31, 2013.  Start making your list now, and when you're ready to order, visit my Online Store.
 
I started with Candlelight Christmas DSP...I know Christmas is over, but see how versatile our products are!  The colors were perfect for Valentine's Day as well.  My favorite Valentine's Day stamp set is You Are Loved, and I used the Ovals Collection framelits for the main design and the layer behind it.  The Designer Builder brad from the Spring catalog fit perfectly with the heart from Lovely Little Labels.  I have to confess I took the brad 'arms' off of the Designer Brad with my pliers.  I layered the brad on Basic Black cardstock, and it was easier for me to ensure it was positioned exactly where I wanted it without the brad arms.  I'm not the only person who has ever done that, right?
 
Project Particulars
Stamps:  You Are Loved, Lovely Little Labels
Ink:  Read red
Paper:  Candlelight Christmas DSP, basic black, whisper white
Big Shot:  Ovals collection framelits
Punches:  Itty bitty shape punch pack circle, 1" circle
Accessories:  Designer builder brads, 1/8" black taffeta ribbon, rhinestones

Sunday, October 7, 2012

Demo M&Ts Boo Bats

 
This is such an adorable card.  This is a M&T card that Kim Becker brought to our American Ink demo meeting.  Even though I made this card at the meeting, I just now noticed that one of these cute little creatures is an owl!  Too funny.  How could I have missed that?!  The Boo stamp was stamped in Tangerine tango, and we used the black marker to color the dots in the center of the stamp before stamping it on whisper white card stock.  And those googlie eyes are killing me!  Very cute.

Friday, October 5, 2012

Demo M&T Evergreen Christmas

 
This is one of the M&Ts we were able to make during our last American Ink demo meeting in September.  Terry Blais designed this card.  It uses the new Core'dinations card stock.  She used the woodgrain embossing folder and sanded the design with our new sanding block.  Very simple card to make, and impressive as well.
 
 
You can join us at our monthly demo meetings too!  Sign up as a demonstrator under me today.  The Starter Kit is only $99 and you receive $125 in product!  You can customize the kit any way you would like as part of Stampin' Up!'s MY WAY promotion.  Sign up today!

Wednesday, October 3, 2012

Demo Swap Batty Halloween


Here are two more cards I received as swaps in the American Ink demo meeting in September.  Sharlene made the Bat card, and Terry made the Happy Halloween card.  Sharlene is one of my downline :o)
 
Aren't those googlie eyes the cutest things you've ever seen?


Tuesday, October 2, 2012

Demo Swap Grateful Frankenstein


On the second Saturday of every month, all demonstrators under Terry Blais, aka American Ink, have a demo meeting at her studio in Poulsbo.  (We all wish we had a studio like hers!)  It's a great time to get together with friends, share current Stampin' Up! news, and enjoy time stamping.

Some of us bring swaps, some bring M&Ts, some volunteer to teach a technique or share a WOW, and others bring food.  We've got all the bases covered, that's for sure.

These are two cards I received last month as swaps during our American Ink demo meeting.  Kim made the Frankie card, and Frankie made the Gratitude card.  Now, that pun wasn't planned, but makes me giggle :o)

If you'd like to be part of our American Ink group too, you can sign up as a demonstrator for only $99 and receive $125 in product!  That's fantastic, don't you think?  Go to my website and sign up as a demonstrator under me now!

Friday, September 28, 2012

Tricky Treats Halloween

This is another video I made with my friends, Terry and Kim.  I used the Tricky Treats stampset from our current catalog along with the Howlstooth and Scaringbone DSP.  I love this paper and think it works for other times as well, not just for Halloween.  The Festive paper-piercing pack from the Holiday catalog can be used on so many things, I don't know what I did before I had it!  Add to that the fact that it matches the design for the Labels collection framelits, and I'm one happy girl!


If you'd like to order the Festive paper-piercing pack, the Howlstooth and Scaringbone DSP or any of the other things used in making this card,
visit my Online store.


Essentials: 
Stamps:  Tricky treats [126327]
Paper:  Howlstooth and Scaringbone DSP [126906], Basic gray [121044],
Basic black [121045], Very vanilla [101650], Tangerine tango [111349]
Ink:  Tangerine Tango [126946]
Big Shot:  Labels collection framelits [125598], Houndstooth embossing folder [123134]
Accessories:  Paper-piercing tool [126189], Pierce mat [126199],
Rhinestone basic jewels [119246], Festive paper-piercing pack [127857]

Tuesday, September 25, 2012

Aviary Window Framelit Card

Here's my first video!  Kim Becker and I joined Terry Blais at her studio the other day and made videos.  You have no idea now much we laughed.  What a great time we had!  This card was one I CASE'd from our current Stampin' Up! catalog.  The Aviary set is quickly becoming one of my favorite stamp sets.


There are ideas on nearly every page of our catalog.  You can get a FREE catalog by buying at least $50 worth of product from my Online Store.

Wednesday, September 12, 2012

Elements of Style Telescoping

 
This is a card Karen Casper brought for our club's M&T.  She taught us the 'telescoping' technique.  Isn't it beautiful?!  This card uses the Labels collection framelits.  Karen had us stamp two complete images on Whisper white.  We used markers to color the images, then we used the first and third framelits to cut the first design, and the second and fourth framelits for the second design.  Each piece is layered with dimensionals to give it that 'telescoping' effect.  I think Karen chose the perfect flower design in Elements of style, don't you?

Tuesday, September 11, 2012

Ladies Club - September


This is another card my Club made in September.  Comfort Cafe DSP is one of my favorites.  I guess I'm drawn to the muted colors, and especially brown tones.  Spice Cake was my favorite before Comfort Cafe :)
 
This card was made with the faux pinwheel technique I shared previously.  I used the Color spritzer tool with my Soft suede marker to create the speckled background on the Very vanilla card base.  The Antique brads are some of my all-time favorite embellishments, and the new In-Color Summer starfruit is becoming one of my favorite colors too.
 
Stamps:  Sweet essentials
Ink:  Summer starfruit, Soft suede marker
Paper:  Comfort Cafe DSP, Summer starfruit, Soft suede, Very vanilla
Punches:  Scallop trim border, 3/4" circle
Embellishments:  Antique brads
Accessories:  Color spritzer tool
 

Sunday, September 9, 2012

Day of Gratitude

 
Fall is in the air...finally!  We have had the dryest August on record, and today it was cool, breezy and you could feel that fall is just around the corner.  Nothing is more beautiful than the Pacific Northwest in the fall.
 
I hand cut the Pumpkin pie design in this card, used the 1" circle punch to raise the Lucky limeade center and embellished the design with Basic pearls for the finishing touch. The Decorative label punch was used for the sentiment as well as the layered effect behind the sentiment. I cut the label in half horizontally and staggered the pieces so they created the border around the original label.  This is a card I brought to our American Ink demo meeting as a M&T.
 
Although the colors on my card aren't the typical "fall" colors, they are part of the Pals Paper Arts Challenge #142.  I love this color combination!
 
Pink Paper Bakery has a Fall theme challenge, and I thought the Day of Gratitude set was perfect for this challenge. 
 
 
The card sketch I used was from Freshly Made Sketches #51.  This is a site I refer to often for sketches ;)


Stamp:  Day of Gratitude
Ink:  Pumpkin pie, Elegant Eggplant, Lucky limeade
Paper:  Summer smooches DSP, Elegant eggplant, Lucky limeade, Whisper white
Punches:  Decorative label, Scallop edge border
Accessories:  Basic pearl jewels